
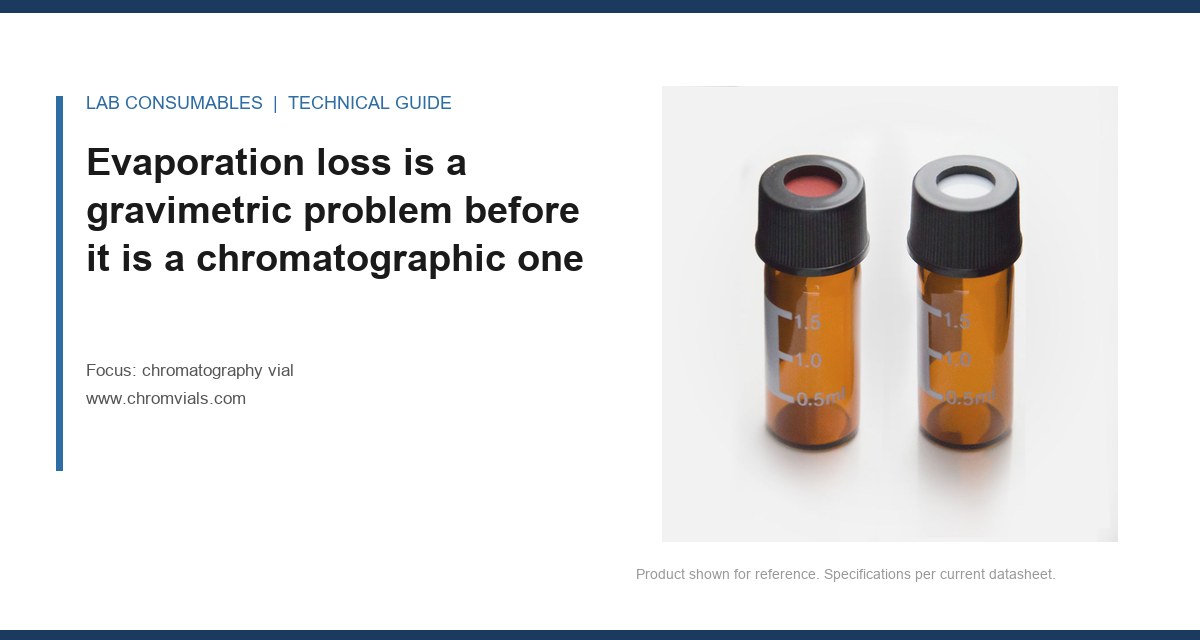
A 96-vial sequence on a GC-FID running EPA 8260 volatiles lost 4.1% of its internal standard response between vial 12 and vial 78, and the autosampler never flagged an error. The instrument was fine. The vials were fine on day one. What changed was that the analyst had switched to a new lot of caps, and the new septa had a compression set 18% higher than the old ones, so once the robot pierced them the seal never came back. That is the failure this article is about: chromatography vial seal failure, evaporation and sample loss that shows up as drift, not as a leak you can see.
I have chased this problem more times than I want to admit, and it almost never announces itself as a leak. It shows up as a calibration that drifts late in the run, a volatile analyte that trends low, a peak area that creeps down across the plate. If you only look at the instrument, you will miss it. The seal is the part of the sample path that nobody watches, and it is the part that fails quietly.
Before you touch the instrument, weigh the vials. That is the whole method. Seal integrity is a mass-transfer question, and you can measure it on a four-place balance in fifteen minutes with no column, no carrier gas, and no method development.
Here is the protocol I use. Take a representative sample of vials from the lot, at least ten, and fill them to the same nominal volume with a volatile solvent that matches your mobile phase or diluent (methanol or acetonitrile work for most of what I run). Cap them with the same caps and the same crimper or screw torque you use in production. Weigh each vial to 0.1 mg on an analytical balance and record the tare. Leave them on the autosampler tray, at the tray temperature you actually run, for the length of a real sequence (a 24-hour run is a common worst case). Weigh again at the end. Loss in milligrams divided by starting solvent mass gives you the percent evaporated.
What is acceptable? For a 2 mL vial with 1 mL of methanol, I want to see less than 0.5% mass loss over 24 hours at ambient. Anything above 1% is a seal problem, full stop. If you are running a volatile method and the analyte boiling point is under 80 °C, even 0.5% is enough to move your internal standard by a percent or two, and that is the drift you were blaming on the detector.
The balance does not care about your method, your column, or your integrator. It just tells you whether the cap held. Run this before you run anything else when a sequence drifts.
Where the sample actually escapes: the four leak paths on a septum cap
A crimp or screw cap is not one seal. It is a stack of interfaces, and each one can leak independently. When I troubleshoot seal failure, I walk these four paths in order because the fix is different for each.
Path 1: the septum-to-cap interface
The septum sits inside the cap and is held by the metal skirt or the screw thread. If the septum is not seated flat, or if the cap was assembled with the septum slightly off-center, you get a micro-channel around the edge. This is the path that shows up as a slow, steady loss rather than a sudden one. It is also the path that a lot of people never check because the cap looks fine.
Path 2: the cap-to-neck interface
For crimp caps, this is the crimp itself. A crimp that is too loose lets the cap rock and the seal opens under the small pressure changes of a heated tray. A crimp that is too tight crushes the septum and deforms the neck. For screw caps, this is the thread engagement and the torque. I will come back to torque because it is the number most labs never control.
Path 3: the puncture hole
Every needle makes a hole. Whether that hole closes is the whole question of re-seal, and it is where most of the drift in a long sequence comes from. More below.
Path 4: the septum body itself
Some septa are permeable to certain solvents. Silicone is more permeable than you would like for low-boiling analytes, and a thin septum at elevated tray temperature will lose mass through the polymer even with a perfect seal at every interface. This is where material choice and thickness matter, and it is why a 1 mm silicone septum and a 3 mm PTFE-faced silicone septum are not interchangeable for a volatiles method.
If you are not sure which path is leaking, do the balance test with the cap on but no needle puncture first. That isolates paths 1, 2, and 4. Then run it again with a single puncture. The difference is path 3.
Re-seal behaviour after puncture is the number that predicts drift
Here is the thing that took me years to internalize: a septum is not a gasket that seals once. It is a self-healing membrane that has to seal again after every needle stroke, and it has to do it dozens of times per vial if you are running a multi-injection sequence. The property that governs this is compression set, the permanent deformation a material takes after being compressed and released. Low compression set means the material springs back and closes the hole. High compression set means it stays deformed and the hole stays open.
Silicone has excellent re-seal for a handful of punctures but degrades with repeated piercing, especially at the same spot. PTFE-faced silicone gives you a chemically inert face and a silicone core, which is why it is the default for HPLC and most GC work. But the PTFE face does not re-seal the way the silicone does, so the puncture geometry matters. A sharp, clean 22-gauge needle leaves a smaller hole than a burred one, and a needle that is slightly bent will tear rather than pierce.
The practical test: puncture a capped, solvent-filled vial 10 times with the same needle, weigh it, let it sit 24 hours on the tray, weigh again. A good septum loses under 1% over those 24 hours after 10 punctures. A marginal one loses 2 to 3%. I have seen cheap septa lose 6% after 10 punctures, and that is a sequence that will drift from the first injection to the last.
This is also why the number of punctures per vial should be a documented parameter in your method, not an afterthought. If your autosampler does three injections per vial and you have a 96-position tray, you are putting 288 punctures into 96 septa over a run. The seal has to survive all of them.
Compression set is why your new cap lot drifted and the old one did not
Compression set is measured as a percentage: compress the material to a fixed strain, hold it at temperature for a fixed time, release it, and measure how much it failed to recover. A septum with 30% compression set has permanently lost 30% of its thickness after one compression cycle. That is a lot when you are relying on that thickness to close a needle hole.
Two things drive compression set up: temperature and time under compression. A tray held at 10 °C is gentle. A tray at 40 °C, or an autosampler in a hot room, is not. If your septa are rated for continuous service at 60 °C but you are running a method that heats the tray to 45 °C, you are operating close enough to the limit that compression set climbs fast. I have watched a lot that passed at 25 °C fail at 40 °C within a single 24-hour run.
This is the failure mode behind the opening case. The new cap lot had a septum compound with higher compression set, and it did not show up on a room-temperature leak check. It showed up on a heated tray over an eight-hour sequence. If you are buying caps, ask for the compression set number and the temperature it was measured at. If the supplier cannot give you both, that is your answer.
Torque and crimp: the two settings that decide whether the seal is repeatable
For screw-thread vials, the cap is only as good as the torque you apply. Too little and the cap backs off under vibration on the tray. Too much and you crush the septum, which raises compression set and makes the puncture hole worse. The number I use for 9 mm short-thread screw caps is 1.2 to 1.5 N·m, applied with a calibrated torque driver, not by hand. For 13-425 caps on larger vials, I run 1.5 to 1.8 N·m. Hand-tightening is not a torque value. It is a guess, and it is not repeatable between two analysts on the same bench.
For crimp caps, the crimper matters more than the cap. A good crimper sets the crimp height and the crimp diameter in one motion. The failure I see most is a crimp that is visually fine but too loose, so the cap lifts slightly when the tray warms and the seal opens. The check is simple: after crimping, the cap should not rotate freely on the neck. If it spins, it is loose. If the neck is visibly deformed, it is too tight.
If you are running a 9 mm or 11 mm vial and you have not measured torque in the last year, that is the first thing to fix. It is cheaper than a new autosampler and it fixes more drift than people expect.
A comparison table for choosing the seal that holds
Here is how the common septum and cap combinations stack up against the properties that actually drive evaporation loss. Numbers are typical for what I see on the bench, and your supplier's data sheet should be in the same range.
| Septum / cap type | Typical thickness | Max continuous temp | Compression set (22 h, 70 °C) | Expected punctures before 2% loss | Best fit |
|---|---|---|---|---|---|
| Silicone, plain, 9 mm screw | 1.0 mm | 60 °C | 25 to 35% | 8 to 12 | Ambient HPLC, short sequences |
| PTFE-faced silicone, 9 mm screw | 1.0 mm | 60 °C | 20 to 30% | 12 to 20 | General HPLC, most GC |
| PTFE-faced silicone, 11 mm crimp | 1.0 mm | 60 °C | 20 to 30% | 10 to 15 | Volatiles, heated trays |
| Bonded PTFE/silicone, 9 mm screw | 1.0 mm | 70 °C | 15 to 22% | 20 to 30 | Long sequences, multi-injection |
| High-purity silicone, 13 mm | 3.0 mm | 60 °C | 25 to 35% | 10 to 15 | Large-volume, ambient only |
Read that table as a decision list, not a ranking. If you are running a 40 °C tray and 20 punctures per vial, the plain silicone row is a drift generator and the bonded PTFE/silicone row is the one you want. If you are running ambient and three injections, the plain silicone is fine and cheaper.
Two field cases where the balance found the leak the detector missed
Case 1: the internal standard that fell off a cliff after vial 40
A lab running a 60-vial GC-MS volatiles sequence saw the internal standard response drop 3.8% from the first ten vials to the last ten, with no change in the calibration curve and no change in the instrument. The first instinct was the detector, then the column. Both checked out. I asked for the balance test and they ran it on the current cap lot: 1.1% mass loss over 24 hours at ambient, which is marginal but not catastrophic. Then they ran it with 15 punctures per vial, and the loss jumped to 4.6%. The septa were not re-sealing after repeated puncture. The fix was a switch to bonded PTFE/silicone septa and a reduction from 4 injections per vial to 2. The drift went away on the next run. The instrument was never the problem.
Case 2: the crimp that looked fine and was not
A different lab had a sudden loss of a low-boiling analyte across an entire plate, starting with a new box of crimp caps. The caps were visually identical to the old ones. The balance test showed 2.3% loss over 24 hours with no puncture at all, which pointed at the cap-to-neck seal, not the septum. The crimper had drifted out of adjustment and was setting the crimp height 0.15 mm too high, so the cap was not fully seated. Recalibrating the crimper and re-crimping a test set brought the loss back under 0.4%. The lesson: check the tool, not just the consumable.
Troubleshooting checklist for seal failure and evaporation loss
When a sequence drifts and you suspect the seal, work this list in order. Each step isolates a different leak path or a different variable.
- Weigh a capped, unpunctured set over 24 hours. Under 0.5% loss is a pass at ambient. If it fails here, the problem is the cap, the septum, or the crimp, not the needle.
- Weigh again after a single puncture. The difference is the re-seal performance of the septum. More than 0.5% extra loss means the septum is not closing.
- Repeat at the actual tray temperature. Compression set climbs with temperature, and a lot that passes at 25 °C can fail at 40 °C.
- Check torque with a calibrated driver. 1.2 to 1.5 N·m for 9 mm screw caps, 1.5 to 1.8 N·m for 13-425. If you cannot measure it, you cannot control it.
- Check the crimper against its setting gauge. A 0.1 mm crimp height error is enough to open the seal.
- Count punctures per vial in your method. If it is more than 10, you need a septum rated for it.
- Confirm the septum material against the analyte. Silicone is permeable to low-boiling solvents; a PTFE face slows that path.
- Verify the cap and vial are from the same dimensional family. A 9 mm cap on a 9 mm vial from a different supplier can be a 0.1 mm mismatch that leaks. The chromatography vial and cap should be qualified as a pair.
If you get through that list and the loss is still there, the problem is upstream of the vial: check the sample preparation and the diluent. But nine times out of ten, the balance test finds it in the first two steps.
What to specify when you buy, and what to reject
Buying your way out of seal failure means specifying the properties that matter, not the ones that are easy to print on a box. When I write a vial and cap specification, I ask for four numbers: compression set at a stated temperature, puncture count to a stated loss threshold, septum thickness and material, and the torque or crimp setting the cap is designed for. If a supplier gives me a temperature rating without a compression set number, I treat the rating as marketing.
For most HPLC work, a PTFE-faced silicone septum in a 9 mm screw cap at 1.2 to 1.5 N·m is the default, and it will hold under 0.5% loss over 24 hours at ambient for 10 to 20 punctures. For GC volatiles on a heated tray, step up to a bonded PTFE/silicone septum and keep the tray as cool as the method allows. The HPLC septa selection is where most of the seal performance is decided, and it is worth spending the extra per-vial cost. A penny saved on a septum is a recalibration you will pay for later.
If you are sourcing caps and vials as a system, look at the HPLC vial range and the broader chromatography products catalog together so the dimensions are qualified as a pair. For method context, the U.S. EPA SW-846 methods are where a lot of the volatiles work that exposes seal failure originates, and the prep notes in those methods assume a sealed vial. Aijiren's GC columns and accessories documentation and Thermo Fisher's chromatography and sample handling resources both cover autosampler and vial compatibility, and Restek's technical resources have good notes on septum selection for volatiles. Read them, then run the balance test on your own lot.
The decision rule is simple. If a sequence drifts and the instrument checks out, weigh the vials before you touch anything else. Under 0.5% loss over 24 hours at your actual tray temperature, with your actual puncture count, is a pass. Above 1% is a seal failure, and the fix is a septum with lower compression set, a calibrated torque or crimp, and a documented puncture limit per vial. You do not need a new instrument to stop evaporation loss. You need to measure the seal, specify the number, and stop treating the cap as an afterthought.
References & further reading
Related resources from our lab consumables network:
- Chromatography Vial at chromvials.com
- Hplc Vial at hplcvialfactory.com
- Chromatography Products at chromatographyforsale.com
- Hplc Septa at hplcsepta.com
External references and standards: