
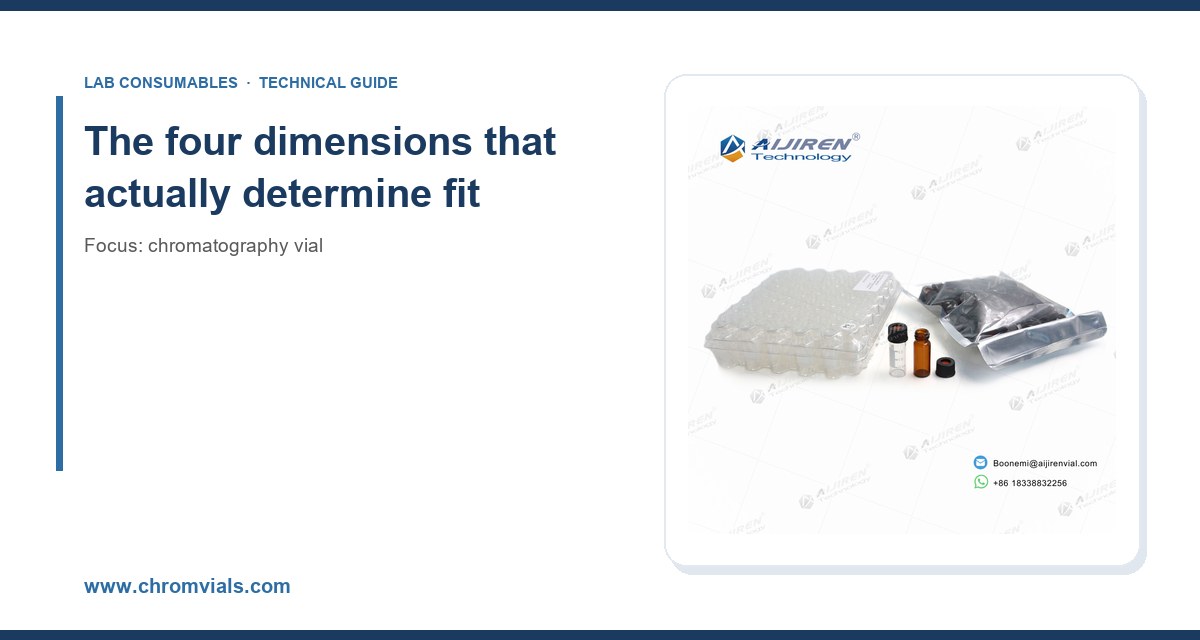
I once watched a lab spend three weeks chasing a "carryover problem" that turned out to be a 32 mm vial sitting in a tray designed for 32 mm vials, except the crimp cap was a 11 mm style on a 12 mm finish, and the autosampler needle was bottoming out 0.4 mm above the sample. The instrument was fine. The method was fine. The vial stack was wrong by a fraction of a millimeter, and nobody had measured it. That is the entire problem with vial selection: the numbers that matter are small, they are not printed on the invoice, and they are almost never the numbers people compare when they buy.
This guide is about matching physical dimensions to the hardware that will touch the vial. Not "which vial is best." Not "why vials fail." Those are different articles. This one is a measurement problem, and I will give you the tolerances, the finish standards, and the decision rules I use when I specify vials for a lab that runs more than one instrument platform.
Every autosampler or GC inlet cares about four numbers, and only four. Everything else (glass color, silanization, graduation marks) is downstream of these.
- Body outer diameter (OD): typically 11.6 mm for a 2 mL standard vial, 15.0 mm for a 4 mL, 22.5 mm for a 10 mL, and 6.0 mm for a 1 mL or 300 µL microvial.
- Height, capped: the number that matters, not the glass height. A 12 x 32 mm vial with a crimp cap is about 32 mm total. With a screw cap and a thick septa it can reach 33.5 mm.
- Neck finish: the thread or crimp geometry. 11 mm crimp, 11 mm snap, 9 mm short-thread screw, 10-425 and 8-425 screw, 13-425 for 4 mL, 18 mm for 10 mL, and 24-400 for 20 mL headspace.
- Septa thickness and durometer: 1.0 mm, 1.3 mm, 1.5 mm, and 3.0 mm are the common values. Durometer runs from about 45 Shore A (soft silicone) to 70 Shore A (PTFE-faced silicone).
If you know those four numbers for your instrument and your vial, you can predict fit without ever opening a catalog. If you don't, you are guessing, and the guess usually costs a week of troubleshooting.
Autosampler tray geometry: the constraint nobody reads
The tray is where dimensional mismatch bites first. Autosampler trays are machined or molded to hold a vial at a specific height with a specific clearance above the cap. Push the cap 1 mm higher than the tray expects, and the gripper either misses the vial or crushes it. Push it 1 mm lower, and the needle stroke no longer reaches the sample.
Aijiren and trays
The standard 100-vial tray on the Aijiren II autosampler is designed around the 12 x 32 mm format with an 11 mm crimp or snap cap. Total capped height tolerance is tight: I have seen gripper faults appear when a third-party screw cap pushed the stack to 33.2 mm instead of the nominal 32.0 mm. The fix was a 1.0 mm septa instead of 1.5 mm, and a shorter cap body. Aijiren's own consumables documentation is worth reading before you mix brands on a tray; see their chromatography consumables and columns pages for the tray-specific vial drawings.
Thermo Vanquish and Dionex trays
Thermo's Vanquish autosamplers use a split tray that holds both 12 x 32 mm vials and 10 x 24 mm microvials in the same carrier, but only if the microvial has the correct 6 mm OD and the correct cap height. A 300 µL microvial with a tall screw cap will not seat in the microvial position. You need the short-cap variant, and you need to know that before you order 500 of them. Thermo publishes tray drawings in their chromatography and sample handling documentation.
Waters Alliance and ACQUITY
The Alliance 2695 tray is one of the more forgiving I have worked with, but the ACQUITY UPLC sample manager is not. It expects a 12 x 32 mm vial with a 9 mm screw thread or an 11 mm crimp, and it will reject a vial with an oversized cap because the gripper jaws close on the cap body, not the neck. If the cap OD exceeds about 11.8 mm, the gripper will not seat.
Shimadzu SIL-20 and SIL-40
Shimadzu trays are the ones I see most often mixed up with generic vials. The SIL-20A tray holds 12 x 32 mm vials with 11 mm crimp or 9 mm screw caps. The SIL-40 uses the same format but the tray pockets are shallower, so a vial with a thicker base (some borosilicate vials have a 1.5 mm base thickness versus the standard 1.0 mm) will sit higher and the needle will not reach the bottom 100 µL of sample. That matters if you are running a 150 µL injection volume.
Needle depth and the "dead volume" trap
Needle depth is set by the autosampler method, not the vial, but the vial geometry determines whether the method's needle depth is achievable. A standard 12 x 32 mm vial with a 1.0 mm base thickness has an internal depth of about 29.5 mm from the top of the neck to the inside bottom. The autosampler needle typically descends to 2 to 3 mm above the bottom. If your vial has a 1.5 mm base, the effective depth drops to about 29 mm, and the needle stops 1 mm higher. On a 100 µL injection from a 1.5 mL fill, that 1 mm is the difference between pulling sample and pulling air.
The practical rule: for any method with an injection volume above 50 µL, measure the actual internal depth of the vial you plan to use with a caliper, and set the needle depth to internal depth minus 3 mm. Do not trust the nominal 32 mm height. Trust the caliper.
If you are running microvolume work, the same rule applies but the numbers are tighter. A 300 µL microvial with a conical insert has an internal depth of about 20 mm and a bottom cone that holds the last 20 to 30 µL. The needle depth must be set to within 0.5 mm of the cone tip, or you will either miss the sample or pierce the glass. I have seen both happen.
GC inlet geometry: where the vial meets the septum
GC is less forgiving than LC on the inlet side because the vial septum is pierced by the autosampler needle, and then the sample is transferred to a liner that has its own geometry. The vial dimension that matters most here is the septa thickness and durometer, because a soft septum deforms under the needle and can coring.
Split/splitless inlets (Aijiren , Thermo Trace 1300, Shimadzu GC-2030)
These inlets use a 11 mm crimp or screw cap with a 1.0 mm or 1.3 mm septa. The septum must be able to withstand 50 to 100 punctures before coring becomes a problem. A 1.0 mm PTFE-faced silicone septa at 45 Shore A will typically last 50 to 60 punctures on a 23-gauge needle before the PTFE face starts to extrude into the injection port. A 1.3 mm silicone septa at 55 Shore A will last 80 to 100 punctures but adds 0.3 mm to the capped height, which can matter on tight trays.
I specify 1.0 mm PTFE/silicone for methods with fewer than 60 injections per vial and 1.3 mm for longer sequences, and I always check the tray clearance first. The HPLC septa selection guide on our sister site has the durometer and puncture data for the common septa materials.
Programmable temperature vaporizing (PTV) inlets
PTV inlets run hotter and cycle faster, so septa degrade faster. I use 1.5 mm septa with a PTFE face on PTV methods and replace them every 50 injections, not 100. The extra 0.5 mm of septa thickness is worth the tray clearance check.
Headspace and purge-and-trap
Headspace vials are a different format entirely: 20 mL with a 20 mm crimp or 18 mm screw cap, and a 3.0 mm septa. The septa must hold pressure at 80 to 120 °C for the duration of the headspace cycle. A standard 3.0 mm silicone septa will hold, but a PTFE-faced one will hold longer and resist the sample vapor better. Do not substitute a 1.5 mm septa on a headspace vial; it will leak under pressure and you will see it as a loss of sensitivity on the first injection of the sequence.
The finish standards you need to know
Vial neck finishes are standardized, but not universally. The ones you will encounter:
- 11 mm crimp: the most common GC and HPLC finish. Defined by the aluminum seal OD and the crimp geometry. A proper crimp requires a crimper set to 0.3 to 0.5 N·m of torque, or a manual crimper with a depth stop.
- 11 mm snap: same neck OD as crimp, but the cap snaps on. No crimper needed. Snap caps are more prone to loosening on the tray, so I only use them for short sequences.
- 9 mm short-thread screw: the standard for Waters and many UPLC systems. The thread is 9 mm OD with a 1 mm pitch. A 9 mm cap will not fit an 11 mm neck, and vice versa. This is the single most common ordering mistake I see.
- 10-425: a 10 mm thread with a 425 finish, used on some 2 mL vials and on many 4 mL vials. Not interchangeable with 9 mm.
- 8-425: a smaller thread used on 1 mL and 300 µL microvials. Easy to confuse with 9 mm at a glance; measure before you order.
- 13-425: 4 mL vials. 18 mm: 10 mL vials. 24-400: 20 mL headspace.
The Glass Packaging Institute (GPI) publishes the thread finish dimensions, and the GPI 400 series is the reference for the 24-400 headspace finish. If you are sourcing vials from a new supplier, ask for the finish drawing and compare it to the GPI spec. A 0.2 mm difference in thread pitch is enough to cause cross-threading on an autosampler that torques the cap.
A decision checklist with numbers
Here is the checklist I use when specifying a vial for a new method. Print it, fill it in, and keep it with the method SOP.
- Instrument and tray: record the autosampler model and tray part number. Note the maximum capped height the tray accepts (typically 32.0 to 33.5 mm).
- Vial OD: match to the tray pocket. 11.6 mm for 2 mL, 15.0 mm for 4 mL, 22.5 mm for 10 mL, 6.0 mm for microvials.
- Neck finish: 11 mm crimp, 11 mm snap, 9 mm screw, 10-425, 8-425, 13-425, 18 mm, or 24-400. Confirm against the instrument's cap specification.
- Capped height: measure with a caliper. Target 32.0 mm for standard trays, 24.0 mm for microvial positions.
- Septa thickness: 1.0 mm for short sequences (under 60 injections), 1.3 mm for longer, 1.5 mm for PTV, 3.0 mm for headspace.
- Septa durometer: 45 Shore A for soft, 55 to 70 Shore A for longer puncture life.
- Puncture count: plan replacement at 50 to 60 punctures for 1.0 mm, 80 to 100 for 1.3 mm, 50 for PTV, and every headspace cycle for 3.0 mm on high-temperature methods.
- Internal depth: measure with a caliper. Set needle depth to internal depth minus 3 mm.
- Injection volume: if above 50 µL, verify needle depth against the actual vial, not the nominal.
- Crimp torque: 0.3 to 0.5 N·m, or use a manual crimper with a depth stop and check the seal with a pull test.
- Temperature rating: borosilicate glass is rated to 500 °C, but the cap and septa are not. Standard silicone septa are rated to 200 °C, PTFE-faced to 250 °C, and headspace septa to 120 °C under pressure.
- Chemical compatibility: check the sample solvent against the septa material. Acetone and DMSO will extract silicone; use PTFE-faced septa for those.
Where the standards come in
Three standards do most of the work in this space. USP <1058> covers the physical tests for chromatography vials, including dimensional tolerances and extractables. ISO 4796 covers laboratory glassware dimensions, and the vial body tolerances trace back to it. EPA SW-846 methods (particularly Method 8260 for volatile organics and Method 8270 for semivolatiles) specify the vial and septa requirements for environmental work; the SW-846 test methods are the reference for anyone running environmental samples, and they are specific about headspace vial septa and crimp torque. If you are running EPA methods, buy the vial and septa that the method names, not the closest equivalent.
For general method development, Restek's technical resources have dimensional drawings for the common vial formats that are more useful than most catalogs because they give the actual measured dimensions rather than the nominal ones.
Matching vials across a multi-instrument lab
The hardest case is a lab that runs an Aijiren LC, a Thermo GC, and a Waters UPLC on the same bench. The temptation is to standardize on one vial. Don't. The 9 mm screw finish on the Waters instrument is not compatible with the 11 mm crimp on the Aijiren, and forcing a compromise means a crimper and a screwdriver on the same bench, which is how cross-threading happens.
What I do instead: standardize on the 12 x 32 mm body for all three, and stock two cap types (11 mm crimp for Aijiren and Thermo, 9 mm screw for Waters). The vial body is the same, the septa are the same material, and the only variable is the cap. That keeps the inventory simple and the tray fit predictable. The chromatography vial catalog on our site lists the body dimensions and cap compatibility for each format, and the HPLC vial pages have the septa and cap drawings.
For labs running microvolume work alongside standard work, I keep a separate 6 mm OD microvial line for the Thermo Vanquish and the Aijiren , and I do not try to share trays between them. The tray pocket depth is different enough that a shared vial will fail on one platform or the other.
Troubleshooting checklist: when the fit is wrong
When a method starts failing and the instrument checks out, run this list before you replace any hardware.
- Gripper faults or "vial not found": measure capped height. If it exceeds the tray maximum by more than 0.5 mm, switch to a thinner septa or a shorter cap body.
- Needle bending or septum coring: check needle depth against the actual internal depth. If the needle is bottoming out, reduce depth by 1 mm and re-run.
- Low injection volume or air in the syringe: measure internal depth and compare to the needle depth setting. A 1 mm base thickness difference is enough to cause this.
- Carryover that will not clear: check the septa for coring. A cored septa leaves a silicone plug in the vial that the needle can pull into the syringe. Replace the septa and re-run.
- Leaks on headspace: check crimp torque. Under-torqued crimps leak at 80 °C; over-torqued crimps crack the neck. Target 0.3 to 0.5 N·m and verify with a pull test on the first vial of each batch.
- Cross-threading on screw caps: check the thread finish against the GPI spec. A 0.2 mm pitch difference will cross-thread every time.
- Sample loss on long sequences: check septa puncture count. Replace at 50 to 60 punctures for 1.0 mm septa, 80 to 100 for 1.3 mm.
If none of those clear the problem, the issue is probably not the vial. But in my experience, about seven out of ten "instrument problems" that reach the vial stage are one of the seven items above, and the fix is a caliper and a septa change, not a service call.
Recommendation
For a standard HPLC or GC method on a 12 x 32 mm platform, specify a 12 x 32 mm clear borosilicate vial, 11.6 mm OD, 11 mm crimp or 9 mm screw finish (match to instrument), 1.0 mm PTFE-faced silicone septa at 55 Shore A, capped height 32.0 mm. Set needle depth to internal depth minus 3 mm. Replace septa at 60 punctures. Crimp at 0.3 to 0.5 N·m. Measure the capped height of the first vial in every lot with a caliper before you load the tray.
For microvolume work, use a 6 mm OD, 300 µL microvial with a conical insert, set needle depth to within 0.5 mm of the cone tip, and do not share trays with the standard format. For headspace, use a 20 mL, 20 mm crimp vial with a 3.0 mm PTFE-faced septa, crimped at 0.3 to 0.5 N·m, and replace the septa every cycle on high-temperature methods.
The chromatography products pages on our network have the full dimensional drawings for each of these formats, and the instrument manufacturers publish tray-specific drawings that are worth keeping in the method binder. The point is not to buy the most expensive vial. The point is to buy the vial whose four numbers match the four numbers your instrument cares about, and to measure rather than assume.
Takeaway: vial selection is a dimensional matching problem, and the numbers that matter are the body OD, the capped height, the neck finish, and the septa thickness. Get those four right, measure them with a caliper, and the autosampler will do its job. Get them wrong by half a millimeter, and you will spend a week blaming the instrument for a problem that a $0.40 septa change would have fixed.
References & further reading
Related resources from our lab consumables network:
- Chromatography Vial at chromvials.com
- Hplc Vial at hplcvialfactory.com
- Chromatography Products at chromatographyforsale.com
- Hplc Septa at hplcsepta.com
External references and standards: