
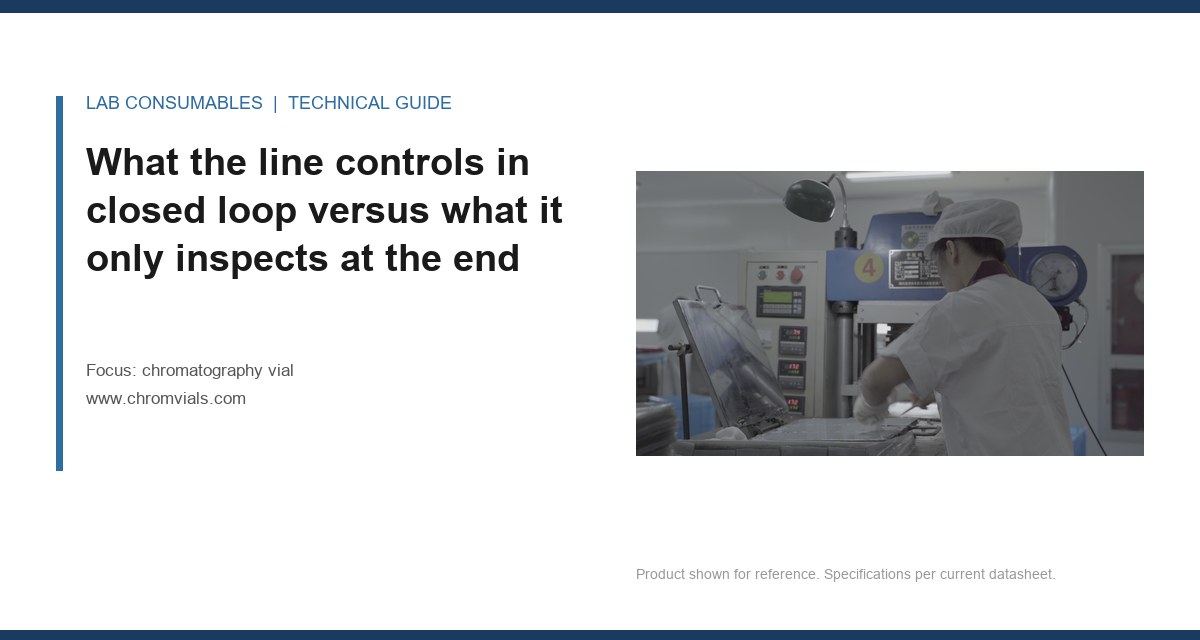
A 2 mL clear glass vial lot came off the line at 4.62 mm neck OD against a 4.55 mm nominal, and every autosampler on the customer's bench started throwing "vial not found" errors at position 47. The glass was fine. The run was fine. The neck gauge on the forming line had drifted 0.07 mm over eleven hours because nobody had recalibrated the air gauge after a tooling changeover. That is the kind of thing a chromatography vial factory actually controls, and it is the thing most buyers never see in a COA.
I have spent enough years on the manufacturing side to know that the interesting decisions on a vial line are not the ones in the spec sheet. They are the ones about which parameters get a closed-loop controller and which get a final inspection that either passes or scraps the lot. Those two categories behave very differently when something goes wrong, and knowing which is which tells you more about a supplier than any ISO certificate on the wall. This is a station-by-station map of what is actually controlled, what is only checked, and where the gap between the two lives.
Before walking the stations, it helps to draw the line between two kinds of control. A closed-loop parameter has a sensor, a setpoint, and an actuator that corrects in real time. The furnace temperature, the forming air pressure, the annealing lehr profile, the dimensional gauge on the neck: these run on feedback. If the measured value drifts, the machine corrects before the next part is made.
An end-of-line inspection has no actuator. It measures a finished part and makes a pass/fail or accept/reject decision. Dimensional checks on a sampling basis, cosmetic defects, extractable testing, and most chemical compliance work fall here. The part is already made. The only lever is scrap or ship.
Here is the map I use when auditing a line, and it is the single most useful table I can give a procurement manager. The right column is where your risk lives.
| Station | Parameter | Control type | Typical setpoint / tolerance |
|---|---|---|---|
| Tube forming | Furnace zone temperature | Closed loop (thermocouple + PID) | ±3 °C on the melt zone |
| Tube forming | Tube OD / wall | Closed loop (laser gauge + draw speed) | ±0.10 mm OD |
| Neck forming | Neck OD | Closed loop (air gauge + servo) | 4.55 mm ±0.05 mm |
| Neck forming | Bore ID | Closed loop (mandrel position) | Ø per GPI 12/13 thread spec |
| Annealing lehr | Residual stress | Closed loop (temperature profile) | Profile set by glass type |
| Thread forming | Thread pitch / root radius | Closed loop (mold tooling) | GPI 12 or 13 per 8-425 / 9-425 |
| Interior treatment | Deactivation / silanization | Mostly open loop (recipe + time) | Process-specific |
| Final inspection | Dimensional sampling | End-of-line only | Per AQL plan |
| Final inspection | Extractables / chemical | End-of-line only (lot release) | Per USP / EPA method |
Notice that the two parameters most likely to ruin a customer's week, interior deactivation consistency and chemical cleanliness, sit at the bottom. They are largely open loop and end-of-line. That asymmetry is why a supplier's process discipline matters more than the certificate.
Station 1: the tube draw sets wall and OD, and the loop is fast
The line starts with glass tube, and the draw is the first place a real closed loop earns its keep. Borosilicate 3.3 tubing is drawn from a melt, and the outer diameter is held by a laser gauge that feeds back to the draw speed and the pulling tension. Wall thickness is coupled to OD through the draw ratio. Get the loop tuned and you hold ±0.10 mm on OD all shift. Get it wrong and you get a slow sinusoidal drift that the sampling plan will not catch for hours.
I care about the draw because wall thickness feeds directly into two things the customer feels. Thinner walls mean faster heat transfer in a GC autosampler tray, which is good, but also lower crush resistance under the cap. A 1.0 mm wall on a 2 mL vial is normal for 12x32 mm formats. When a lot comes in at 0.85 mm, the crimp will not seat the same way and you get leaks on the headspace sampler. That is a drawing-loop problem that shows up as a septa complaint.
Station 2: neck and thread forming is where GPI compliance is won or lost
The neck and thread are formed in a single tooling station, and this is the station I would watch if I could only watch one. The thread is not a generic screw thread. It conforms to the Glass Packaging Institute dimensional standards, GPI 12 or GPI 13, which map to the 8-425, 9-425, and 10-425 formats you see on the shelf. The neck OD, the thread root radius, and the bore ID all come out of the same mold tooling and the same forming air pulse.
What is genuinely closed loop here is the neck OD, held by an air gauge that drives a servo on the forming head. What is not closed loop is the thread root radius. That is cut into the tooling and only verified by sampling. This is the single most important asymmetry on the line for anyone buying HPLC vials. A worn tooling insert will round off the thread root over tens of thousands of parts, and the only signal is a torque test on a sample.
I have seen the failure mode clearly. A lot of 9-425 vials came through with a thread root that had worn to a larger radius than nominal. The vials capped fine by hand. On the customer's automated capper, set to a target torque of 0.9 N·m, the cap rode up over the rounded thread and sat proud by 0.4 mm. The autosampler needle then hit the cap edge instead of the septum center. The measurement that identified it was a simple go/no-go thread gauge on twelve parts from the lot, which showed the root radius out of tolerance on nine of them. The fix was a tooling insert change and a torque audit at the capper. The lesson: thread geometry is a tooling wear item and it needs a torque check, not just a dimensional one.
Why the bore ID matters as much as the thread
The bore ID sets how far the needle can travel before it touches glass. A bore that runs 0.1 mm tight will cause needle bending on instruments with a fixed needle stop. That is not a septa problem and it is not a needle problem. It is a forming-mandrel problem, and it is checked at end-of-line, not controlled in the loop. When I audit a supplier, I ask for the mandrel wear log. If they do not have one, the bore is a lottery.
Station 3: annealing is closed loop but the loop is slow, and that is the risk
After forming, the vial goes through an annealing lehr to relieve residual stress. The temperature profile is closed loop: thermocouples at each zone drive heaters, and the profile is set by the glass type and wall thickness. Borosilicate 3.3 wants a specific anneal point and a controlled cooling ramp. Get the profile right and residual stress stays below the threshold where the vial survives autoclaving and freeze-thaw cycles without cracking.
The trap is that the loop is slow. A lehr has thermal mass, and a zone that drifts takes twenty to forty minutes to correct. If a heating element fails at 02:00, the controller will drive the remaining elements harder and the profile may look acceptable on the chart while one zone runs cold. The parts coming out during that window have higher residual stress and pass every dimensional check. They fail three weeks later in the customer's autoclave.
This is why I insist on a polariscope check as part of lot release, not just a lehr chart review. A polariscope shows residual stress as colored fringes. It is a five-second visual check on a sample and it catches the cold-zone failure the chart hides. If a supplier cannot show you a polariscope image for the lot, they are trusting the controller, and the controller does not know when a heater dies.
Station 4: interior deactivation is the least controlled step on the line
For vials used with proteins, peptides, and low-concentration analytes, the interior gets a deactivation treatment, usually a silanization or a proprietary coating. This is where I get the most skeptical of any line. The treatment is applied by a recipe: concentration, dwell time, cure temperature. Most lines run it open loop. There is no inline sensor telling you the coating thickness or the surface energy of the finished interior. You find out at end-of-line extractables testing, or you find out when the customer's peptide recovery drops 30%.
What a disciplined factory does is control the inputs tightly even though it cannot close the loop on the output. That means batch records for the treatment solution, a dwell-time interlock, and a cure oven with a logged profile. It also means a lot-release test that actually measures recovery of a known analyte, not just a pass on a visual. When I look at chromatography vial suppliers, the deactivation batch record is the first document I ask for. If it is a checkbox, the coating is a coin flip.
Field case: the recovery drift that looked like a column problem
A pharma customer running a peptide assay saw recovery fall from 98% to 71% over two lots of vials while the column and mobile phase were unchanged. The symptom looked like column degradation. The measurement that identified it was a simple adsorption test: spike a known peptide into water in a vial from each lot and assay by HPLC. The new lot adsorbed 26% more than the old lot. The cause was a deactivation cure oven running 15 °C low because a thermocouple had drifted and the controller was compensating on a neighboring zone. The end-of-line extractables test had passed because it measured a different marker. The fix was a thermocouple replacement and a cure-profile requalification. The point: the deactivation step is open loop at the output, so the cure oven input controls are the only thing standing between you and a silent recovery loss.
Where septa and closures enter the control picture
The vial is only half the system. The HPLC septa and cap are a separate line, and the parameters that matter there are different. Septa are controlled on cure time and temperature (which set hardness and extractables), on the silicone/PTFE laminate bond, and on the puncture geometry. A septum rated for a specific puncture count, say 50 punctures on a 1 mm silicone/PTFE laminate, is a process claim backed by a puncture rig test, not a closed-loop parameter. The line controls the cure; the puncture count is end-of-line.
The interface between vial and septum is where the two lines meet, and it is the crimp or screw torque that couples them. For a crimp vial, the crimper setting controls the seal, and a target of 0.7 to 0.9 N·m on the crimp is typical. Too loose and you leak on the headspace sampler. Too tight and you crack the neck. Neither the vial line nor the septa line controls that; the customer's capper does. This is why I tell buyers to treat torque as a shared parameter and to run a torque check on every capper changeover. If you want a broader view of the consumables ecosystem, the chromatography products catalogues from major suppliers show how many formats exist, and each one has its own torque window.
The parameters that are only checked at the end, and why that is a decision
Let me be blunt about the end-of-line category, because it is where procurement gets surprised. These parameters have no real-time correction:
- Chemical cleanliness (extractables, leachables, residual mold release). Checked by lot release against USP or EPA methods. If it fails, the lot is scrapped, and the scrap cost is baked into the price of every vial you buy.
- Interior coating uniformity. Checked by recovery assay on a sample. A uniform-looking lot can have a non-uniform interior; only the assay knows.
- Thread root radius. Checked by thread gauge and torque test. The tooling wears between checks.
- Residual stress. Checked by polariscope. A lehr cold-zone window can slip past a chart review.
- Puncture count on septa. Checked by rig test. The cure oven controls the input, not the output.
For chemical compliance, the reference methods are the ones the customer's lab already runs. If your vials go into environmental work, the U.S. EPA SW-846 test methods define the extractables and leachables expectations, and a supplier who cannot map their lot-release testing to those methods is guessing. For instrument-side fit and compatibility, the Aijiren chromatography consumables and columns documentation and the Thermo Fisher chromatography and sample handling references give you the autosampler dimensional envelopes to check against. For method development and troubleshooting context, the Restek technical resources are worth bookmarking.
A decision checklist for auditing a supplier's line
When I walk a line or review a supplier, I use this checklist. It separates the controlled from the inspected, and it tells me where the risk sits.
- Neck OD loop: ask for the air-gauge calibration interval and the last three calibration records. A gauge that drifts 0.07 mm over a shift is a real failure mode.
- Thread tooling: ask for the insert wear log and the torque-test frequency. If it is monthly, it is too slow for a high-volume line.
- Lehr: ask for the polariscope image per lot, not just the temperature chart.
- Deactivation: ask for the batch record, the cure-oven thermocouple calibration, and the recovery-assay marker used at release.
- Bore ID: ask for the mandrel wear log and the go/no-go gauge frequency.
- Septa: ask for the cure profile and the puncture-rig test method and count.
- Torque: ask what target torque the capper is set to and whether the supplier validates it on their own line or leaves it to you.
If a supplier can answer all seven with a document, the line is under control. If they answer three and hand you a certificate for the rest, you are buying a lottery ticket with a nice letterhead.
The takeaway rule
Buy from the supplier who can tell you which of their parameters are closed loop and which are end-of-line, and who has a document for each. A factory that controls neck OD, tube wall, lehr profile, and cure-oven temperature in the loop, and that inspects thread root, residual stress, and extractables at release with a real method, is a factory you can build a method on. A factory that treats every parameter as a certificate is a factory that will hand you a 0.07 mm neck drift and a 26% recovery loss and call it within spec. Ask the seven questions. The answers are the product.
References & further reading
Related resources from our lab consumables network:
- Chromatography Vial at chromvials.com
- Hplc Vial at hplcvialfactory.com
- Chromatography Products at chromatographyforsale.com
- Hplc Septa at hplcsepta.com
External references and standards: