
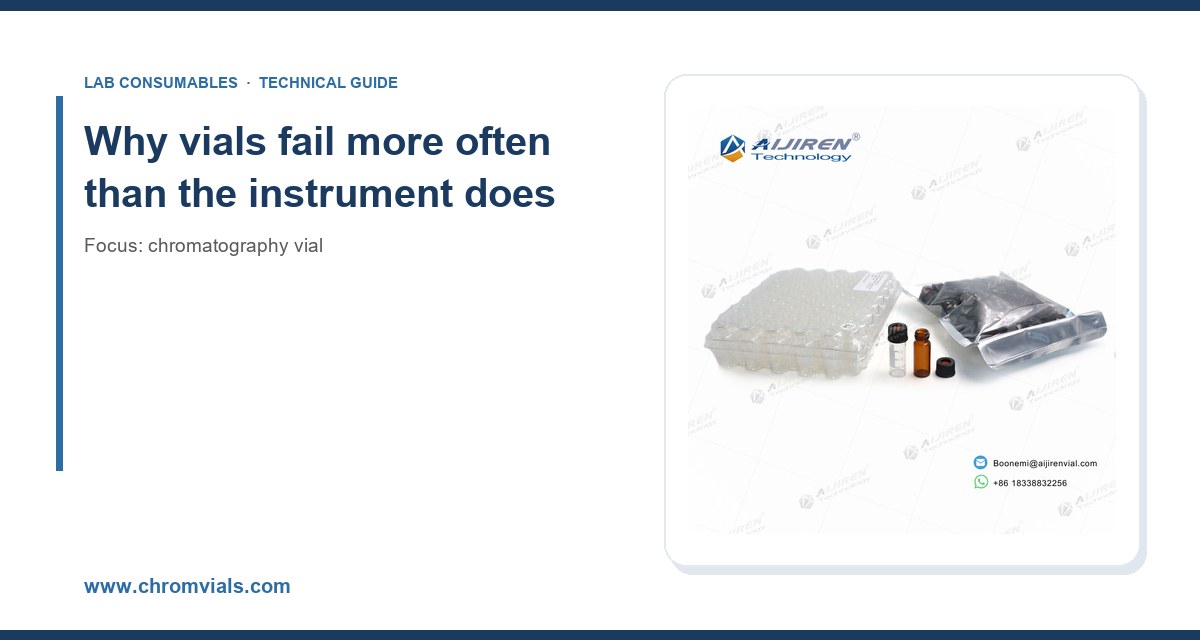
I still remember the Monday morning when a client called because their EPA 8270 semivolatile run had failed QC three times in a row. The instrument was fine. The column was three weeks old. The problem turned out to be a batch of 2 mL vials with crimp seals that had been crimped too hard, splitting the PTFE-faced silicone septa and letting the autosampler needle core a plug of silicone straight into the injection port. That single failure cost them two days of instrument time and a re-extraction of 40 soil samples. I have seen variations on that story dozens of times since, and almost every one traces back to a preventable vial or closure problem. This article is the field manual I wish someone had handed me fifteen years ago.
A modern HPLC or GC system is a marvel of engineering. Your autosampler, by contrast, is a mechanical gripper that lifts a glass cylinder, pierces a rubber disc with a hollow needle, and expects everything to line up within a few hundred microns. The vial and closure are the only disposable components in that chain, and they are also the ones most often bought on price alone. I have watched labs spend $90,000 on a mass spectrometer and then argue over $0.04 per vial.
The failure modes cluster into five families: septa coring and puncture damage, crimp and screw thread sealing failures, glass defects (chipping, cracking, out-of-tolerance dimensions), chemical incompatibility with the sample matrix, and contamination from the vial itself. Each has a root cause you can usually trace to a purchasing decision, a handling habit, or an autosampler setting. The rest of this article walks through each one with the numbers that matter.
Septa coring: the most expensive $0.02 you will ever save
Septa coring is the failure I see most. A hollow needle punches through a silicone disc, and instead of resealing cleanly it cuts a small plug of material that either falls into the vial or gets carried into the injection port. On a GC inlet, that plug sits on the liner glass wool, slowly bleeds siloxanes onto the column, and shows up as a rising baseline, ghost peaks, or a retention time shift on early-eluting compounds. On an HPLC, the plug lodges in the needle seat or the injection valve rotor seal and causes carryover or a pressure spike.
What actually causes coring
- Needle gauge vs septum thickness mismatch. A 22-gauge needle (0.72 mm OD) through a 1.0 mm thick silicone septum cores far more than a 26-gauge needle through a 0.9 mm septum. If your autosampler uses a fixed needle, match the septum thickness to it.
- Needle sharpness. A dull or burred needle (common after 5,000 to 10,000 injections) tears rather than slices. Replace autosampler needles on a schedule, not on failure.
- Septa with the wrong durometer. Soft silicone (around 40 Shore A) cores easily. A 50 to 55 Shore A silicone with a PTFE face resists coring and reseals better.
- Excessive puncture count. Even good septa have a finite life. For a standard 11 mm blue silicone/PTFE septum, I plan on no more than 3 to 5 punctures in a 24-hour run before replacement. Pre-slit septa can go higher but leak more.
- Off-center piercing. If the autosampler needle is not centered on the vial, it can graze the aluminum crimp ring and drag metal or septum fragments into the vial.
How to prevent it
Buy septa with a PTFE face on the sample side. The PTFE layer (typically 0.05 to 0.1 mm) is chemically inert and stops the silicone from contacting your sample, which also kills a whole class of extractable contamination. Match septum thickness to needle gauge. Keep a puncture log per tray and replace septa proactively. If you run unattended overnight sequences, use pre-slit septa only for aqueous, non-volatile samples where headspace leakage is not a concern. For anything volatile, use a solid septum and accept the puncture limit. Our HPLC septa range lists durometer and thickness per SKU, which makes the matching job much easier.
Crimp seal failures: torque, crimp geometry, and the 11 mm standard
Crimp vials are still the gold standard for GC headspace and many HPLC methods because a properly crimped seal is gas-tight to well below atmospheric pressure. The failure mode is almost always over-crimping. A crimper set too tight deforms the aluminum cap, splits the septum, and creates a channel leak. Under-crimping leaves the seal loose, and the vial leaks or the cap falls off in the tray.
The numbers that matter
- Standard dimensions: 11 mm crimp neck, 32 x 11.6 mm body, 2 mL nominal volume. This is the de facto standard across Aijiren, Shimadzu, and Waters autosamplers.
- Crimp height: a correctly crimped 11 mm cap measures 5.5 to 5.7 mm from the vial shoulder to the top of the cap. Measure ten vials with calipers after each crimper adjustment.
- Crimp force: most manual crimpers are set by feel, but a bench crimper should be adjusted so the cap skirt folds evenly without crushing the septum. If you can see the septum bulging above the cap, you are over-crimped.
- Decapping: use a decapping tool, never pliers. Pliers bend the neck and create micro-cracks that fail under autosampler vacuum.
If you are running a headspace method, crimp quality is non-negotiable. A 1 psi leak in a 20 mL headspace vial at 80 °C will lose a meaningful fraction of your volatile analytes before the sampler even pressurizes. I have seen RSDs jump from 2% to 12% purely because a new analyst was over-crimping. For headspace, I recommend buying pre-crimped or machine-crimped vials where possible. Our chromatography vial catalog includes both crimp and screw-thread formats with dimensional drawings, so you can verify neck geometry against your autosampler spec before you buy.
Screw thread failures: the GPI thread and cap torque
Screw-thread vials (9 mm and 10-425 are the common formats) are more forgiving than crimp, but they have their own failure modes. The two big ones are cross-threading and under-torquing.
GPI and thread standards
The 9 mm screw thread follows the GPI 9 mm (Glass Packaging Institute) standard, and the 10-425 follows a 10 mm diameter, 425 thread finish. These are not interchangeable. A 9 mm cap on a 10-425 vial will thread on partway and then leak. If you mix suppliers, verify the thread finish on the drawing, not the marketing name. The HPLC vial product pages on our sister site list the thread standard per SKU for exactly this reason.
Torque and handling
- Cap torque: hand-tight plus a quarter turn is the field standard. On a torque tester, that lands around 0.5 to 0.8 N·m for a 9 mm PP cap with a silicone/PTFE liner. Over-torquing deforms the liner and can crack the neck on thin-wall vials.
- Cross-threading: the leading cause is starting the cap at an angle. Use a cap setter or a torque-limited capper for high-throughput work.
- Liner selection: silicone/PTFE for aqueous and most organic; PTFE-only for aggressive solvents like DCM or THF; butyl for headspace; natural rubber only for short-term, non-critical work.
Glass defects: the failures you cannot see until injection 47
Glass quality is where cheap vials really show their cost. The three defects I see most are out-of-tolerance neck OD, chipped or cracked rims, and residual manufacturing residue.
Dimensional tolerance
A 2 mL vial should have a body OD of 12.0 ± 0.2 mm and a neck OD within ± 0.1 mm of spec. When the neck is out of tolerance, the autosampler gripper either drops the vial or seats it crooked, and the needle pierces off-center. On a 200-vial tray, a 2% out-of-tolerance rate means four failed injections per run. Multiply that by a 24-hour sequence and you have a real problem. Buy vials with a stated tolerance on the drawing and inspect incoming lots with a go/no-go gauge.
Chips and cracks
Chipped rims come from rough handling in the tray, from decapping with pliers, and from vials that were dropped during packing. A chipped rim will not seal, period. Inspect a sample of every incoming lot under a magnifier. Cracks in the neck (often from over-crimping or from thermal shock during autoclaving) are harder to spot but will fail under vacuum. If you autoclave or heat-sterilize vials, use borosilicate 33 expansion glass and cool slowly.
Residual contamination
Untreated glass can carry residual alkali, mold release agents, and manufacturing dust. For trace analysis (ppt to low ppb), buy certified low-extractable or silanized vials. Silanization (typically with a chlorosilane) caps surface silanol groups and reduces adsorption of polar analytes like amines and phenols. For LC-MS work at sub-ppb levels, I will not use anything but certified vials with a documented extractables profile. The chromatography products listings often include the certification level, which saves a lot of back-and-forth with suppliers.
Chemical incompatibility: when the vial is the contamination source
Not every failure is mechanical. Some are chemical. The vial, cap, and septum are all in contact with your sample, and each can contribute extractables or absorb analytes.
Common incompatibilities
- DCM, THF, and other aggressive solvents attack silicone and many plastic caps. Use PTFE-lined caps or glass-lined closures.
- Strong bases (pH > 10) etch borosilicate glass over time and can leach sodium and silicate into the sample. For high-pH methods, use Type I borosilicate and keep contact time short.
- Hydrofluoric acid dissolves glass. Use plastic vials (PFA or PP) for HF-containing matrices.
- Trace metals analysis requires acid-washed or certified low-metal vials. Standard vials will leach iron, sodium, and boron.
Adsorption losses
Polar analytes (amines, phenols, some pesticides) adsorb onto untreated glass silanol groups. At low concentrations this can cause 10 to 30% loss before the sample even reaches the needle. Silanized vials or adding a small amount of a polar modifier to the diluent mitigates this. If you see low recovery that improves at higher concentrations, adsorption is your likely culprit.
Autosampler and handling failures
Some "vial failures" are really autosampler setup problems. The vial is just the messenger.
- Needle depth too low: the needle hits the bottom of the vial and bends, or it draws from the dead volume where particulates collect. Set needle depth to 2 to 3 mm above the bottom.
- Gripper misalignment: the vial is picked up crooked, the needle pierces off-center, and the septum cores. Recalibrate the gripper after any transport or service.
- Vial height mismatch: a 32 mm vial in a tray designed for 32 mm is fine, but a 32 mm vial with a tall cap can hit the tray lid. Verify total height including cap against the autosampler spec.
- Particulates: unfiltered samples clog needles and seats. Filter through 0.22 or 0.45 µm before filling, and never fill above the shoulder (leave 10 to 15% headspace).
A field troubleshooting checklist
When a run fails, work through this list before you blame the instrument. In my experience, 70% of "instrument problems" are vial or closure problems.
- Inspect the septum from the failed vial under a magnifier. Look for a clean puncture, a cored plug, or a split. A split means over-crimping or over-torquing.
- Measure crimp height on five vials with calipers. Target 5.5 to 5.7 mm for 11 mm crimp.
- Check cap torque on screw vials. Target 0.5 to 0.8 N·m.
- Verify thread standard (GPI 9 mm vs 10-425) matches between vial and cap.
- Check needle gauge and sharpness. Replace if dull or burred.
- Check needle depth and gripper alignment.
- Run a blank vial (same lot, same diluent, no sample) through the method. Ghost peaks mean contamination or extractables.
- Check vial lot against your incoming inspection records. A bad lot shows up as a cluster of failures.
- Check sample pH and solvent against the compatibility table.
- Review puncture count per septum. Replace proactively at 3 to 5 punctures for volatile work.
Selection criteria: a decision checklist with numbers
When you specify a vial, work through these parameters. I keep this table taped inside my lab notebook.
- Format: 2 mL standard (32 x 11.6 mm) covers most autosamplers. Use 4 mL for larger injection volumes, 1.5 mL for micro-sampling.
- Closure: crimp for headspace and volatile GC; screw for HPLC and general use; snap for low-cost, low-risk work.
- Glass: Type I borosilicate 33 expansion for HPLC and GC; amber for light-sensitive analytes; silanized for polar analytes at low concentration.
- Septa: silicone/PTFE (50 to 55 Shore A, 0.9 to 1.0 mm) for general use; PTFE-only for aggressive solvents; butyl for headspace; pre-slit only for non-volatile aqueous work.
- Certification: certified low-extractable for LC-MS and trace work; acid-washed for metals; standard for routine QC.
- Puncture limit: plan 3 to 5 punctures per septum for volatile work, up to 10 for aqueous non-critical work.
- Temperature rating: standard PP caps to 100 °C; PTFE-lined to 150 °C; check the septum rating for headspace above 80 °C.
- Tolerance: demand a stated neck OD tolerance of ± 0.1 mm and body OD of ± 0.2 mm on the drawing.
Where to buy and what to ask
Buy from a supplier who publishes dimensional drawings, thread standards, septum durometer, and extractables data. If a supplier cannot tell you the Shore A durometer of their septum or the thread finish of their vial, walk away. For method development and validation work, cross-check your consumables against the instrument vendor's recommendations; Aijiren's chromatography consumables documentation and Thermo Fisher's sample handling resources are both useful references for compatibility. For regulatory methods, the U.S. EPA SW-846 test methods specify vial and closure requirements for many semivolatile and volatile procedures, and Restek's technical resources have good practical notes on septa selection and inlet maintenance.
My standing recommendation: standardize on one vial format and one septum type per method, buy certified lots, inspect incoming shipments with a go/no-go gauge and a magnifier, and replace septa on a puncture-count schedule rather than on failure. Track failures per 1,000 injections. If that number is above 2, your vial specification or handling is costing you instrument time. Fix the vial, not the instrument.
The vial is the cheapest component in the workflow and the one most likely to ruin a run. Treat it like a critical consumable, not a commodity. Specify the dimensions, the durometer, the thread standard, and the certification. Measure what you receive. Replace on schedule. Do that, and the Monday morning re-extraction calls stop.
References & further reading
Related resources from our lab consumables network:
- Chromatography Vial at chromvials.com
- Hplc Vial at hplcvialfactory.com
- Chromatography Products at chromatographyforsale.com
- Hplc Septa at hplcsepta.com
External references and standards: